Article Fashion
The making of 'Dressed'
Before the launch of my book 'Dressed' I posted a test print of the book, and one of my followers on Instagram (Tobias Slater-hunt) asked if I could share more about the book making process. I thought this was an excellent idea. So in this post, I hope to give more insight into the messy and troublesome process of making a book.
Early in 2020, I opened my studio to find a new photographic direction after years of doing street and urban landscape photography. I had a vague idea of what I hoped to do, but it definitely wasn't a plan for a book. I have worked on serial projects for years, and this was an exploration in which I focused on single images.
First attempt
For my first attempt, I tried to create a catalog of pictures. Despite COVID, there was the possibility of an exhibition. I tried to create a simple zine-like catalog with single images to support the exhibition. It failed in three ways:
1. The look of the product didn't fit the type of images. What worked for street photography, certainly didn't work for this body of work. The quality of the book needed to be higher.
2. The body of work didn't work as a collection. These images were made as stand-alone images, and I struggled to bring the images together.
3. The book's rhythm was off. My first priority was to showcase as much of the image as possible. Because of that, I hurt the book overall. I should have focused more on the rhythm of the book.
The exhibition fell through, and the book didn't feel right. But after this attempt, I was sure I wanted to make a book out of this project too.

Second attempt
There was a second attempt, and although I have searched very well in my workspace, I couldn't find any copies anymore. I tried a new rhythm of full-bleed images as well as a new colorful design. And I printed it on a thicker, glossier paper. But:
1. I still had issues with the quality of the production vs. the quality of the images.
2. I still had issues with the consistency of the project itself.
So for a while, I gave up the book and laid it to rest.
But I didn't give up the project entirely. When this happens, it's a matter of getting over it and moving on. I've learned not to worry. Just keep working. Leaving things for a while can certainly help you.
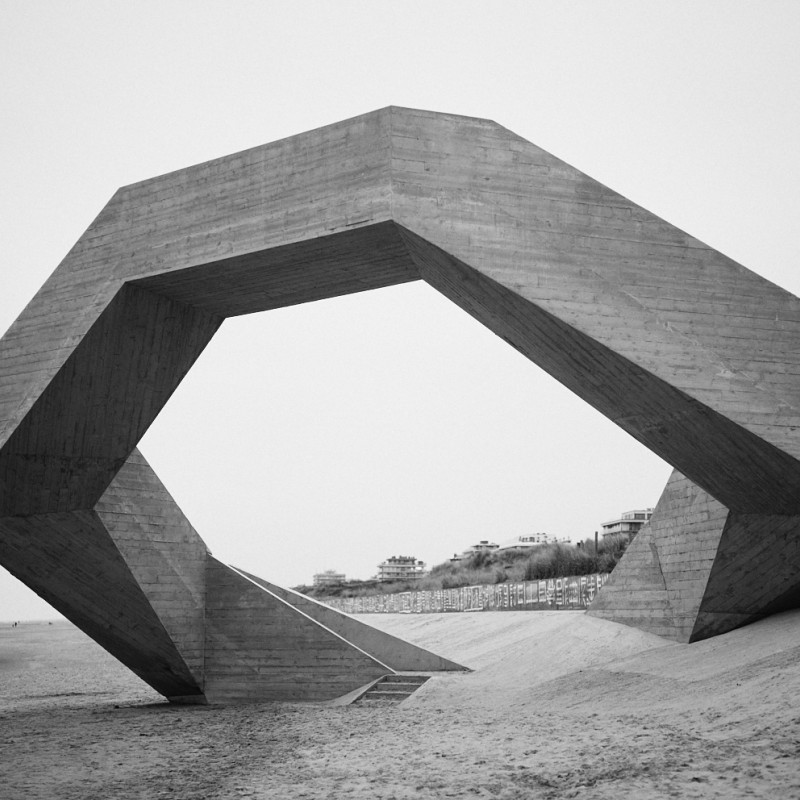
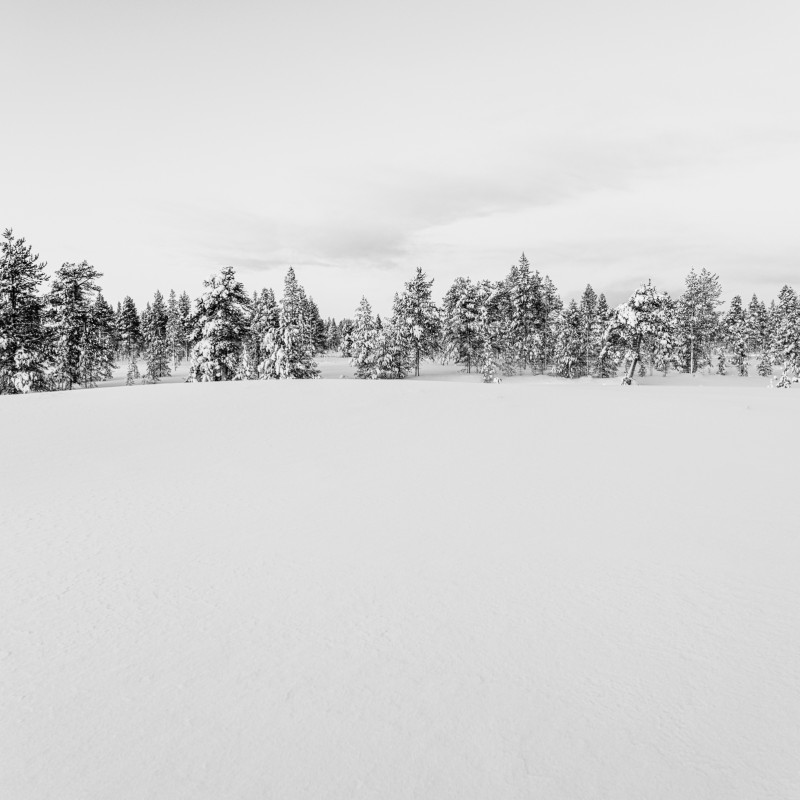
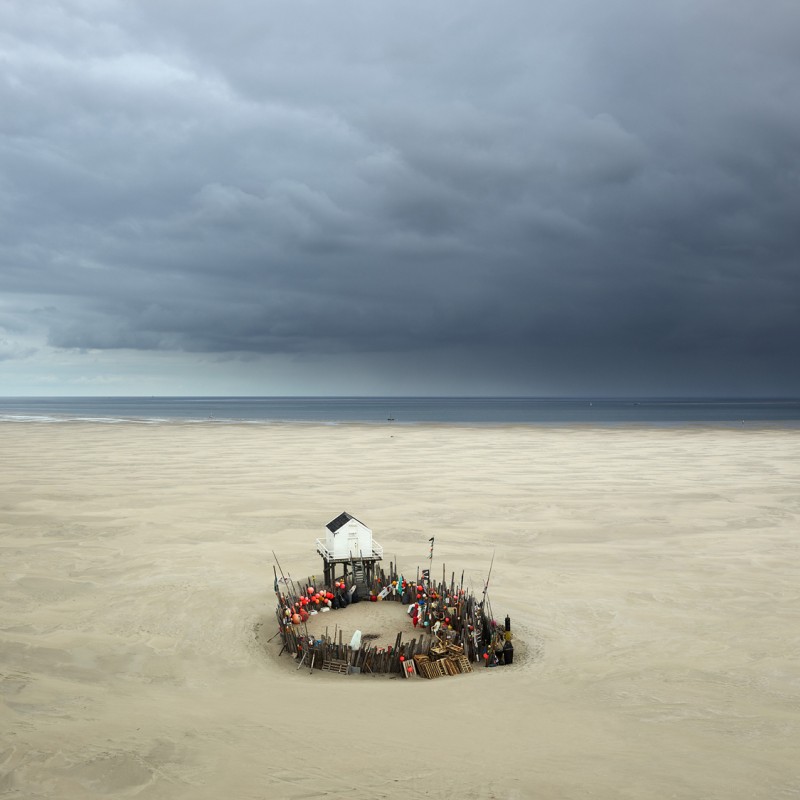
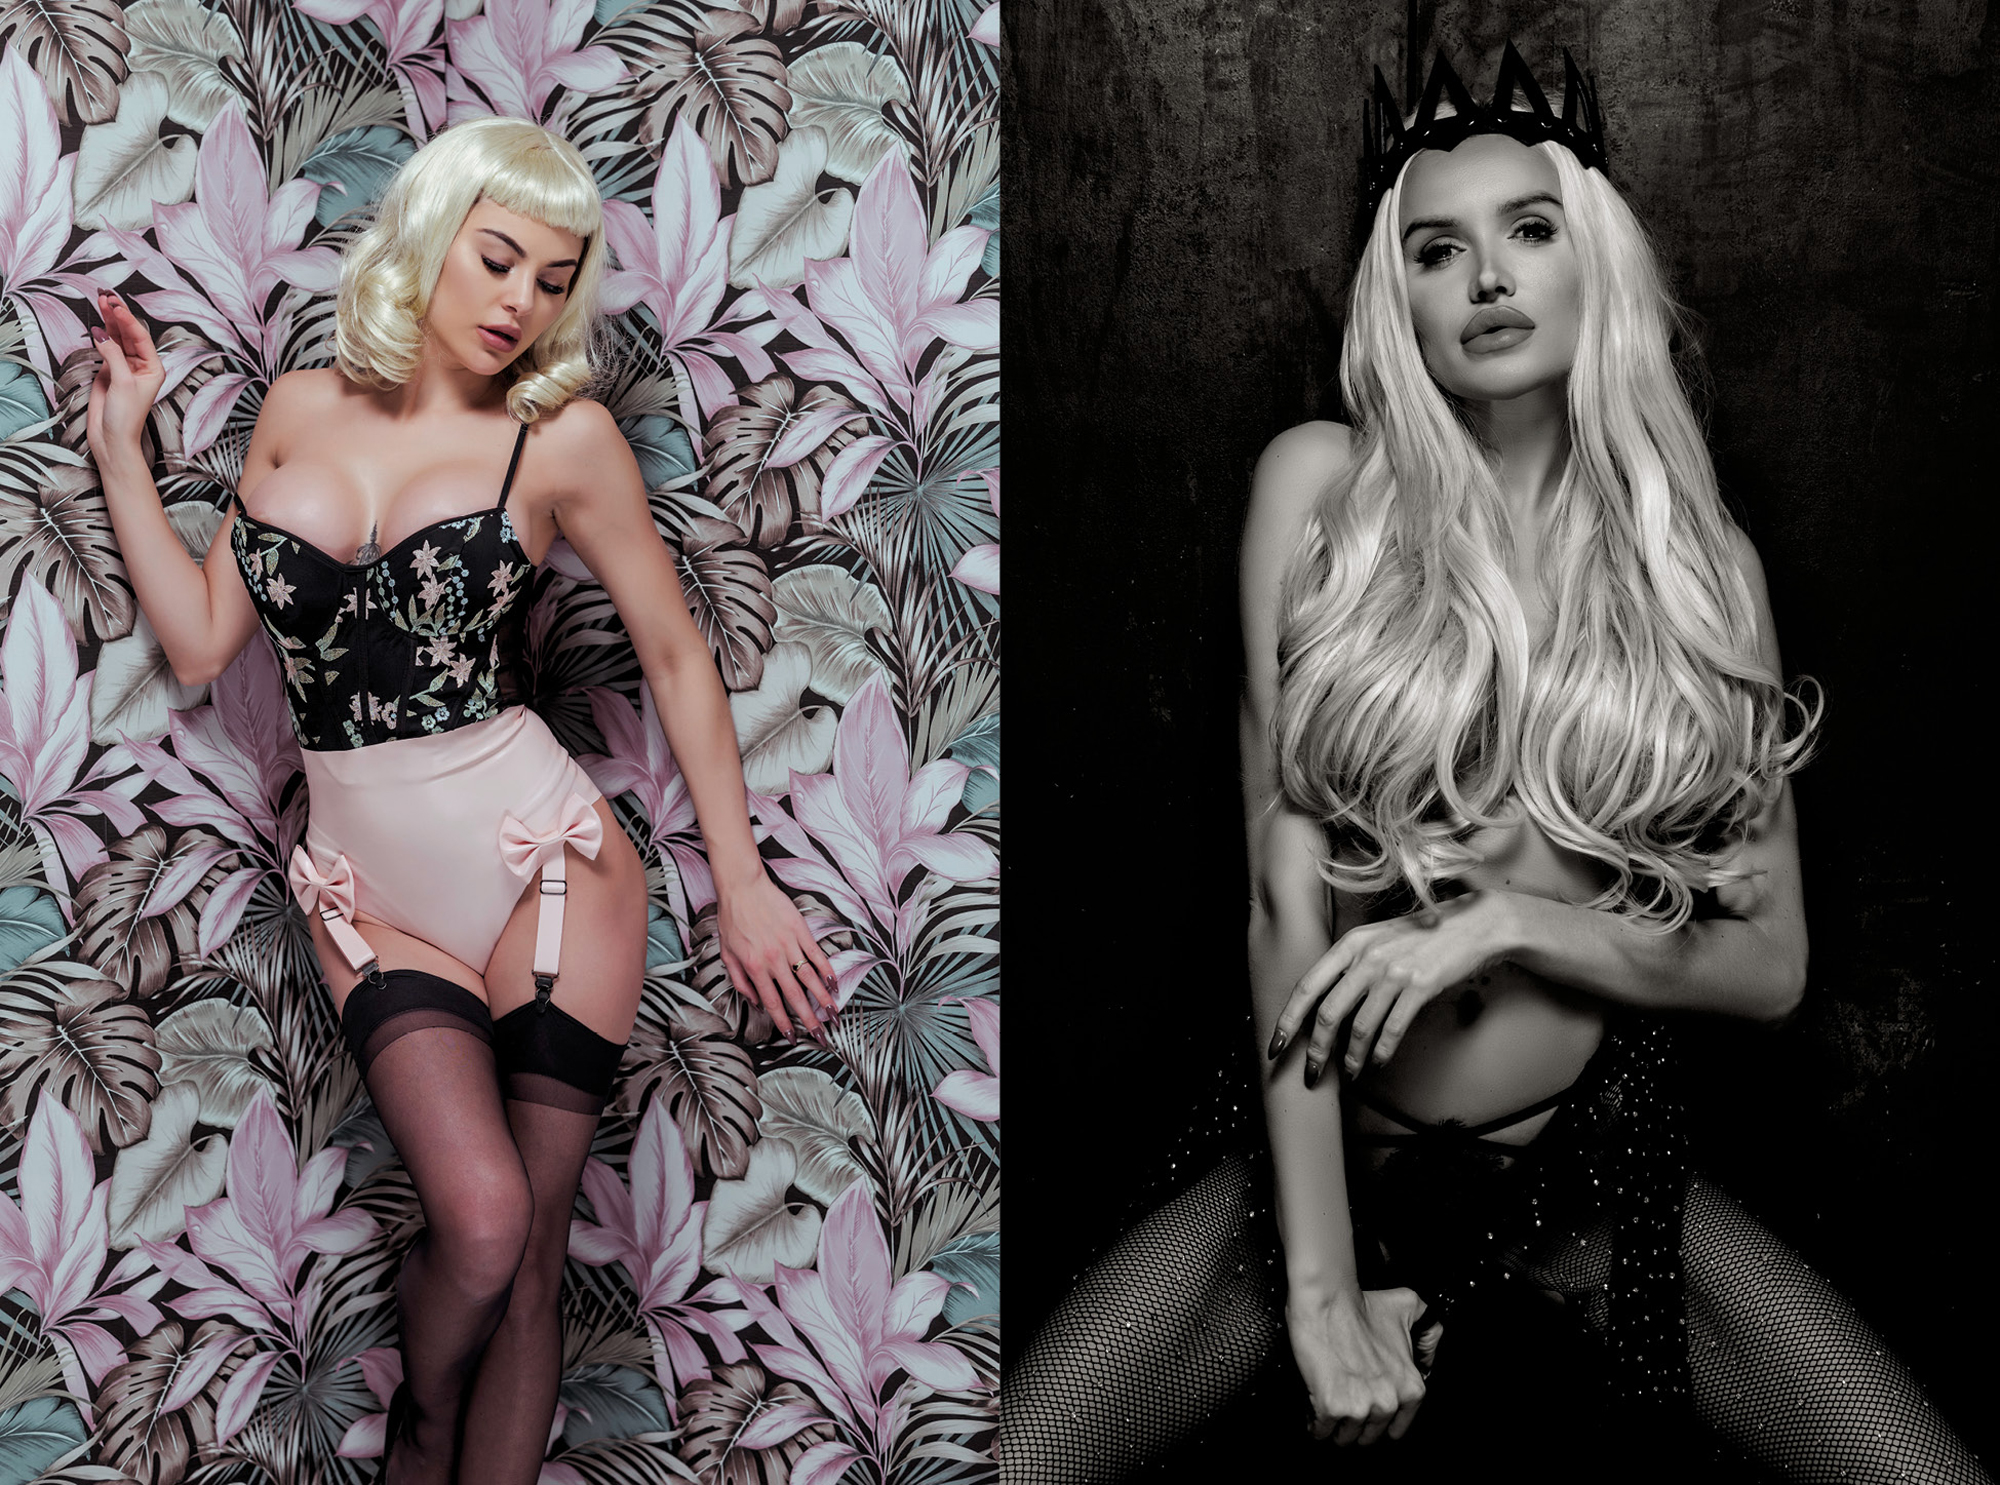
I made a drastic choice. I had been going backwards and forwards with color and black & white. I was certain, this body of work had to be created entirely in black and white. But I also thought it required light, besides the darkness. So I needed to create more work, but now I had a clear direction.
Also, I decided I needed to do a book with the best production value possible. This is always problematic when doing books like this. High quality costs money (which is okay) but disproportionately so when doing small print runs. If you find printers who do these types of small print runs anyway, I ended up with what I consider the best printer in The Netherlands for this type of project, Rob Stolk.
Design of the book
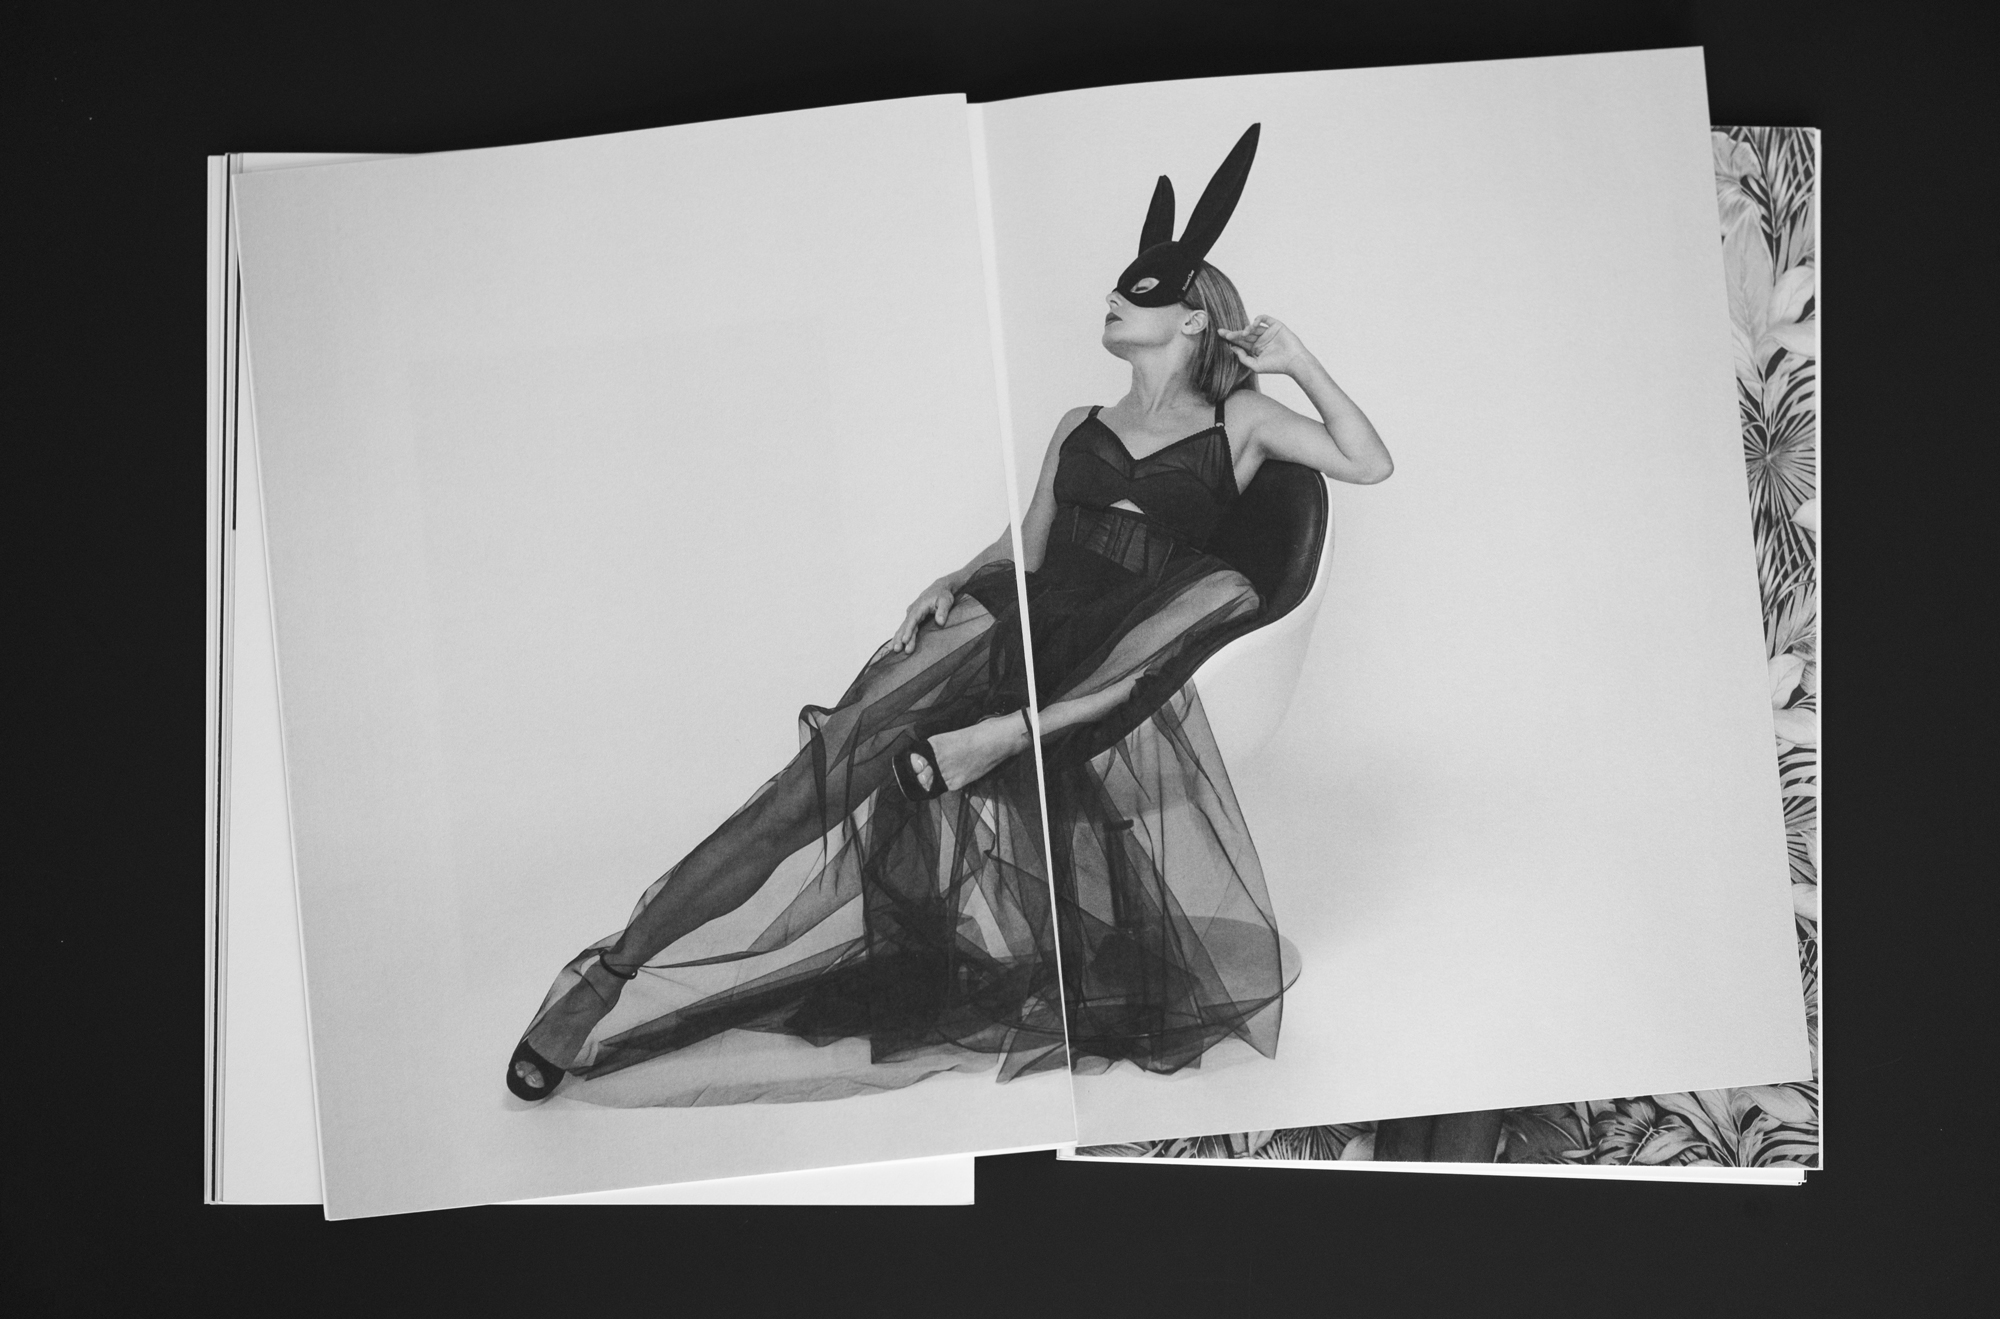
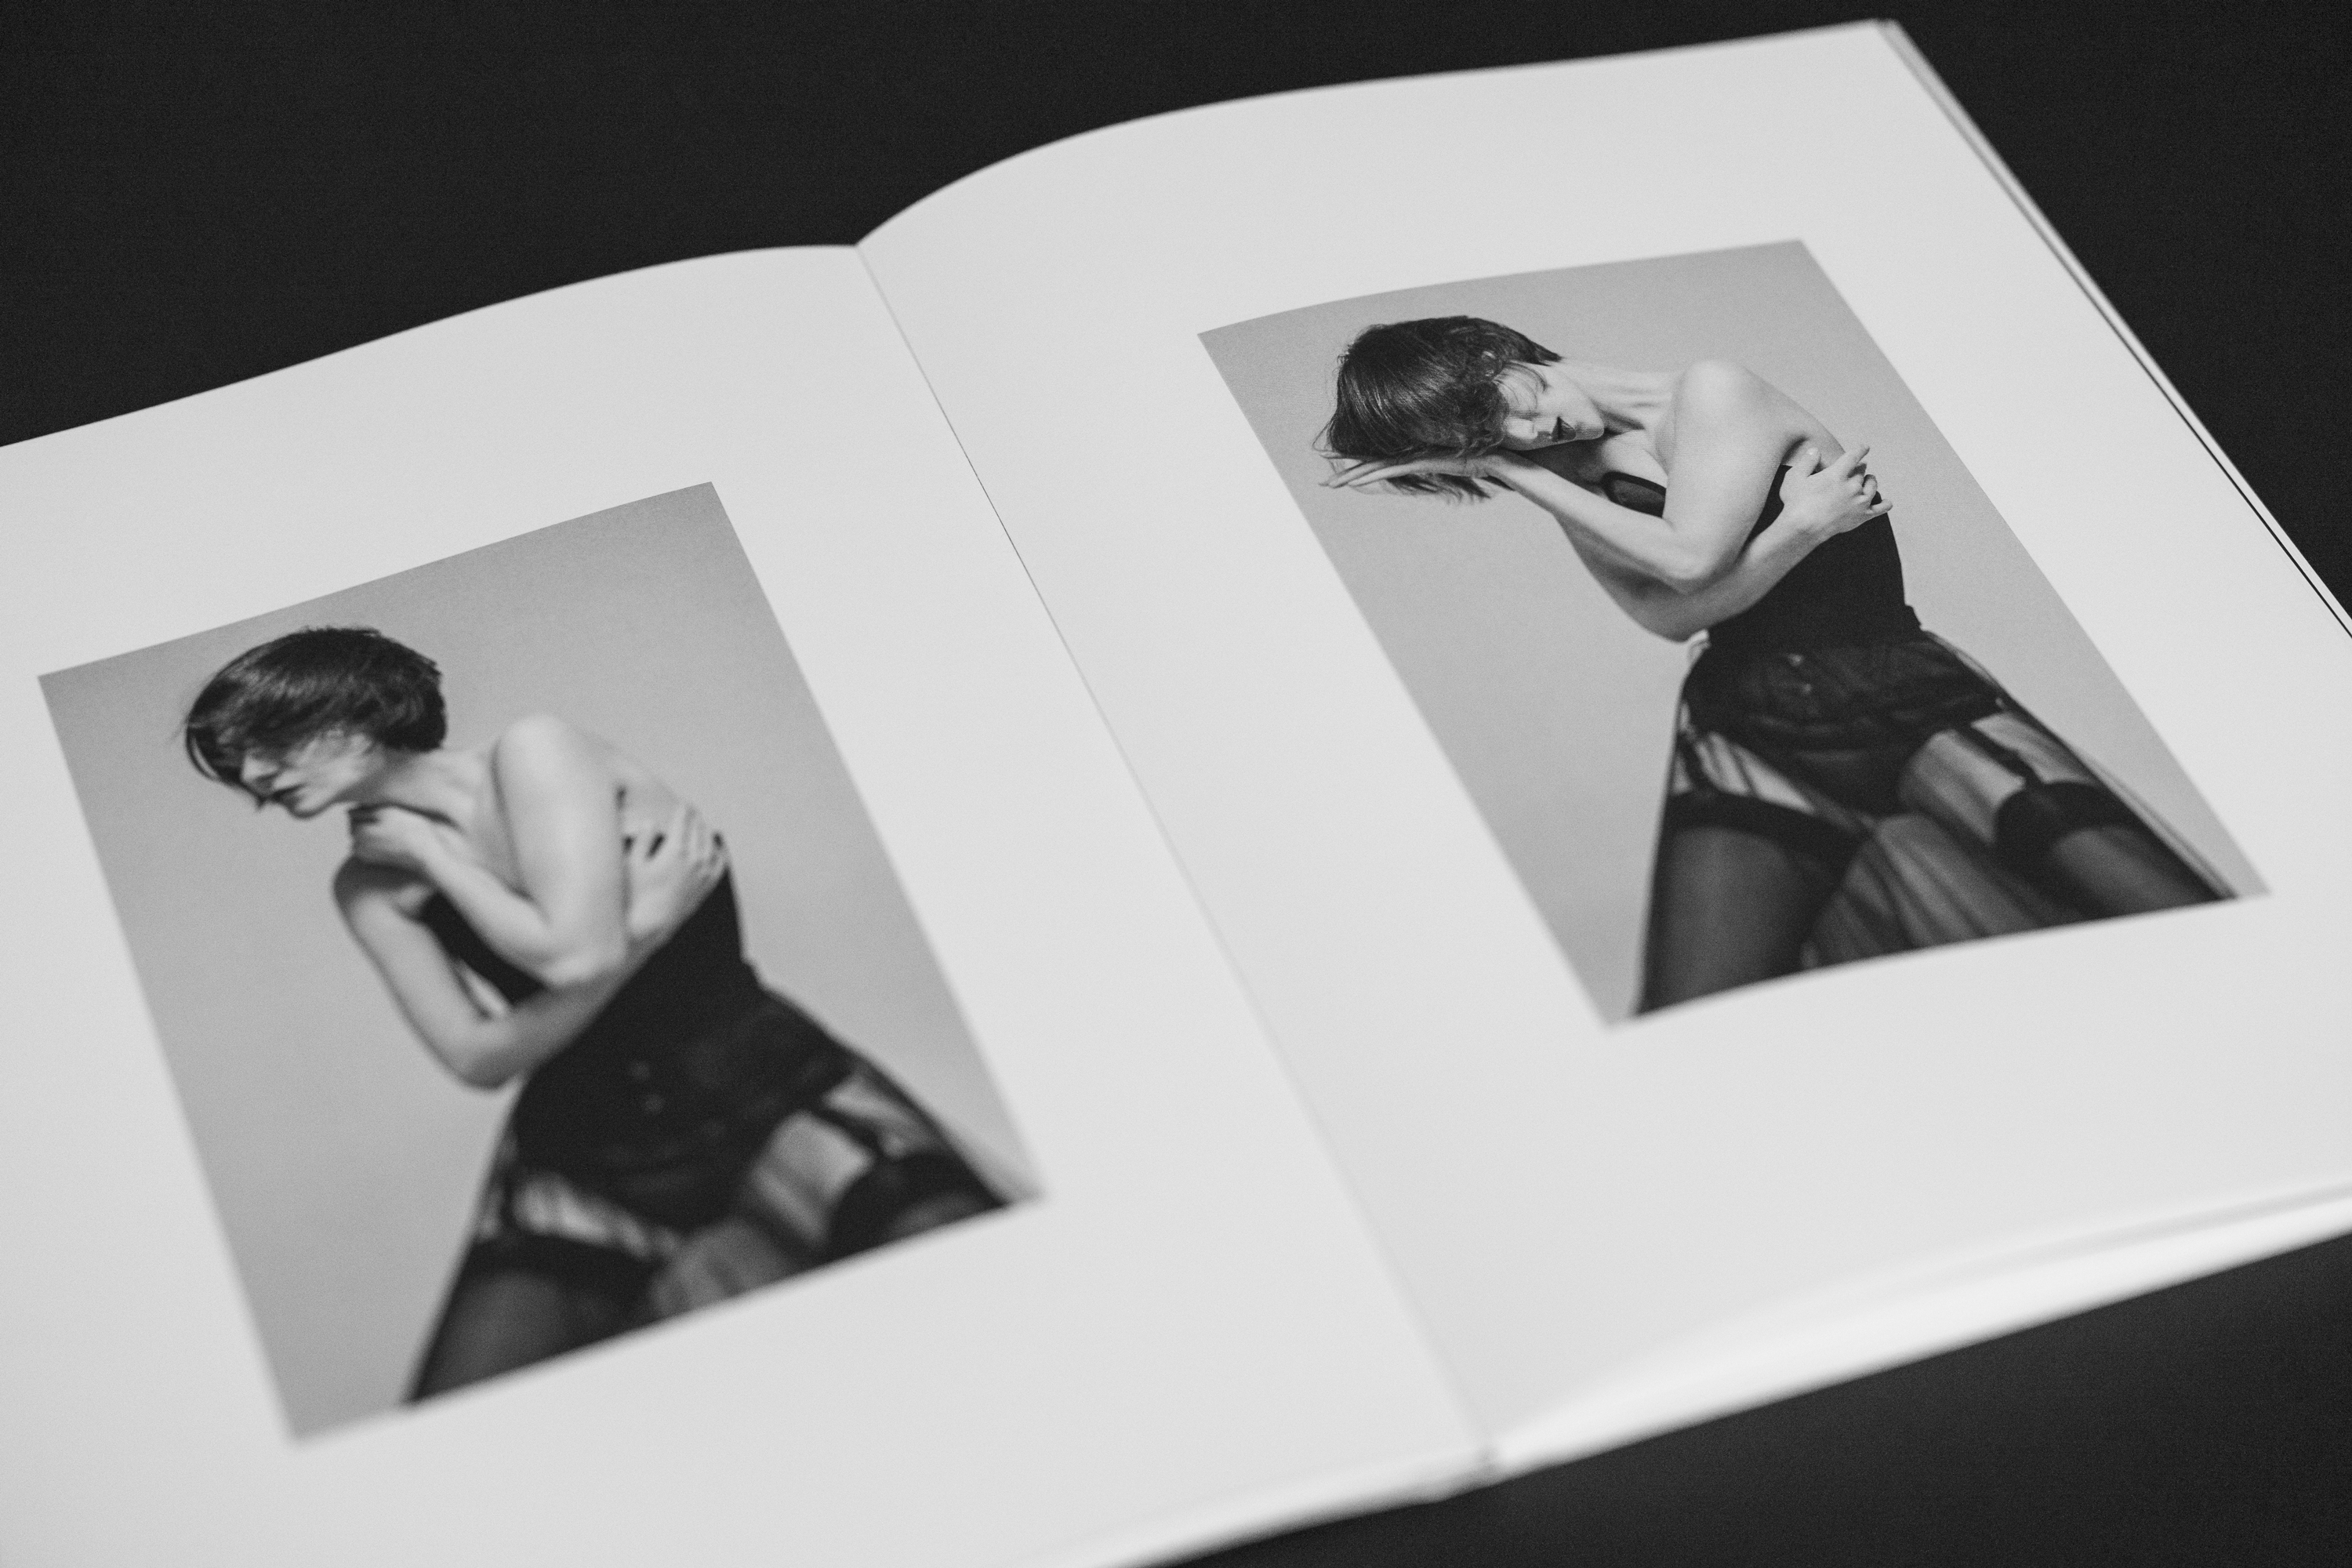
I changed the size of the book to A4. Photobooks are all about showing the images, and these images needed space. With the new size, I also introduced a more advanced layout system. This system had different sizes, and even on the smallest size, the images would still be a decent size with the new book size. It also created a rhythm throughout the entire book with small, medium, and even spreads.
I removed the colored images and added the new, lighter images. Finally, this book was getting somewhere. Despite having singular images, this book became more and more consistent.

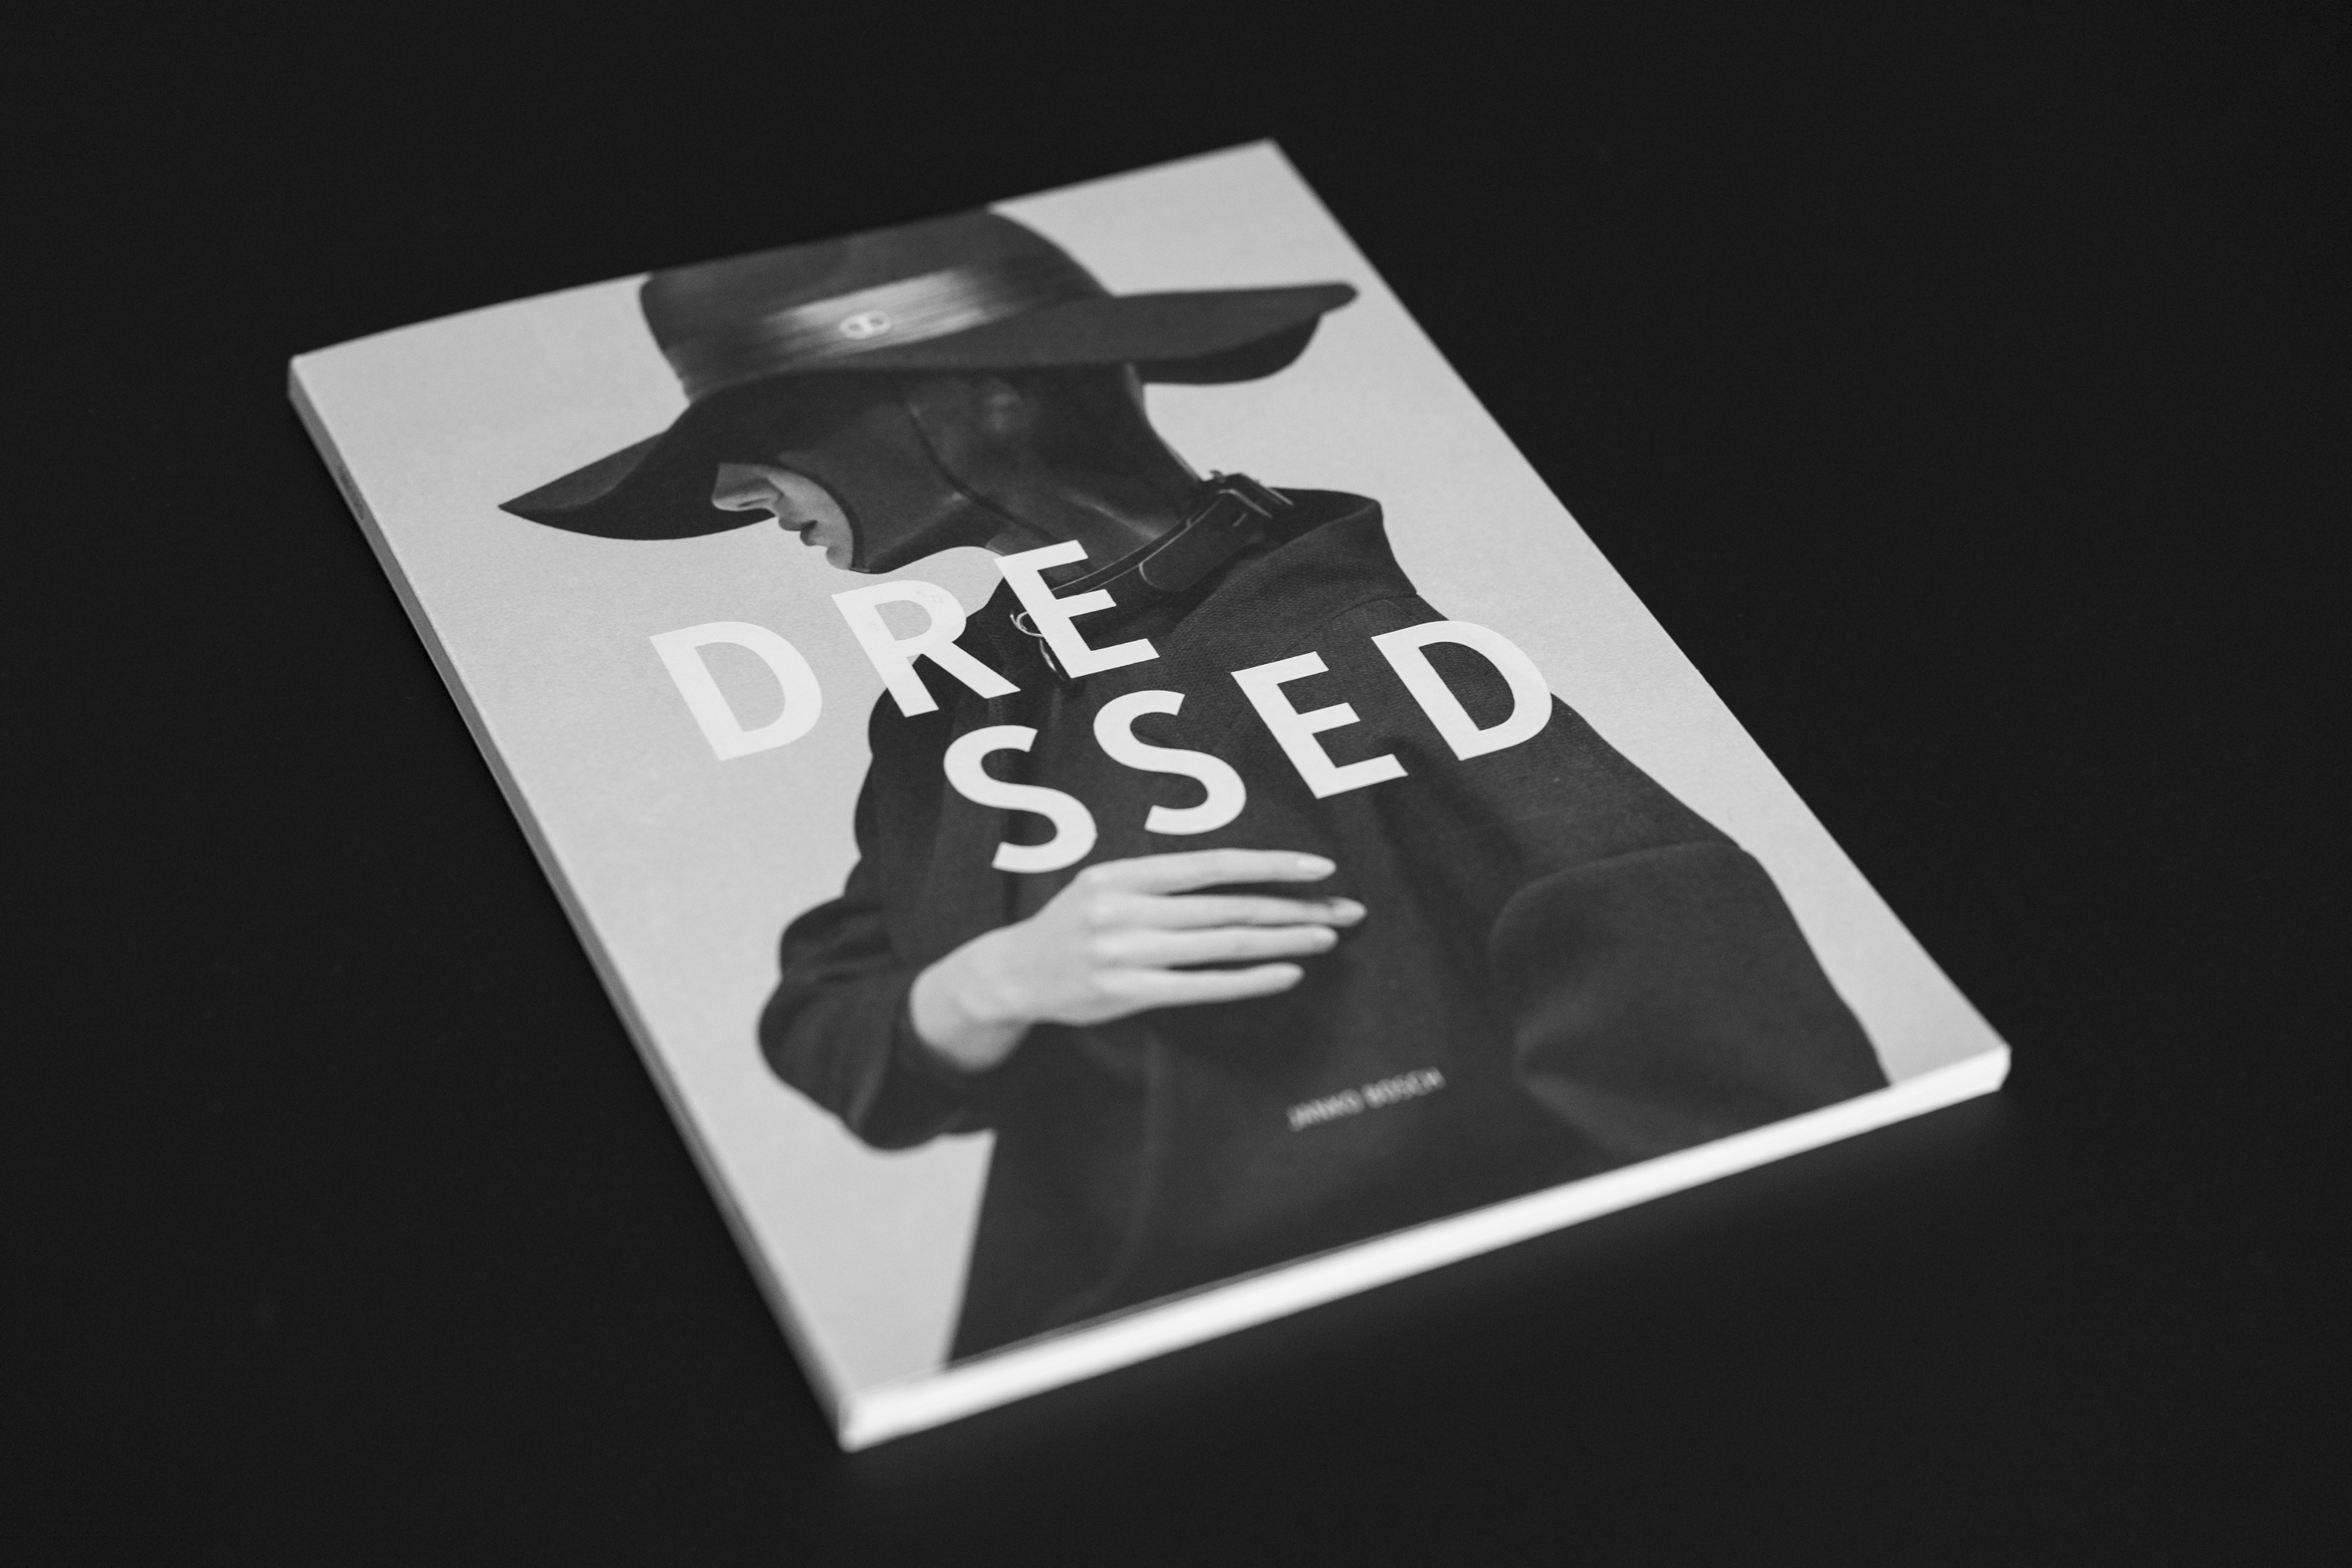
Cover design
I always enjoy the process of cover design. This time, it was quite clear what image had to go on the cover. After a few iterations on the typography, I settled on the current one. I did look into doing an additional folded poster cover, but due to the size of the book, this option was simply too expensive. Who knows in a later book :)
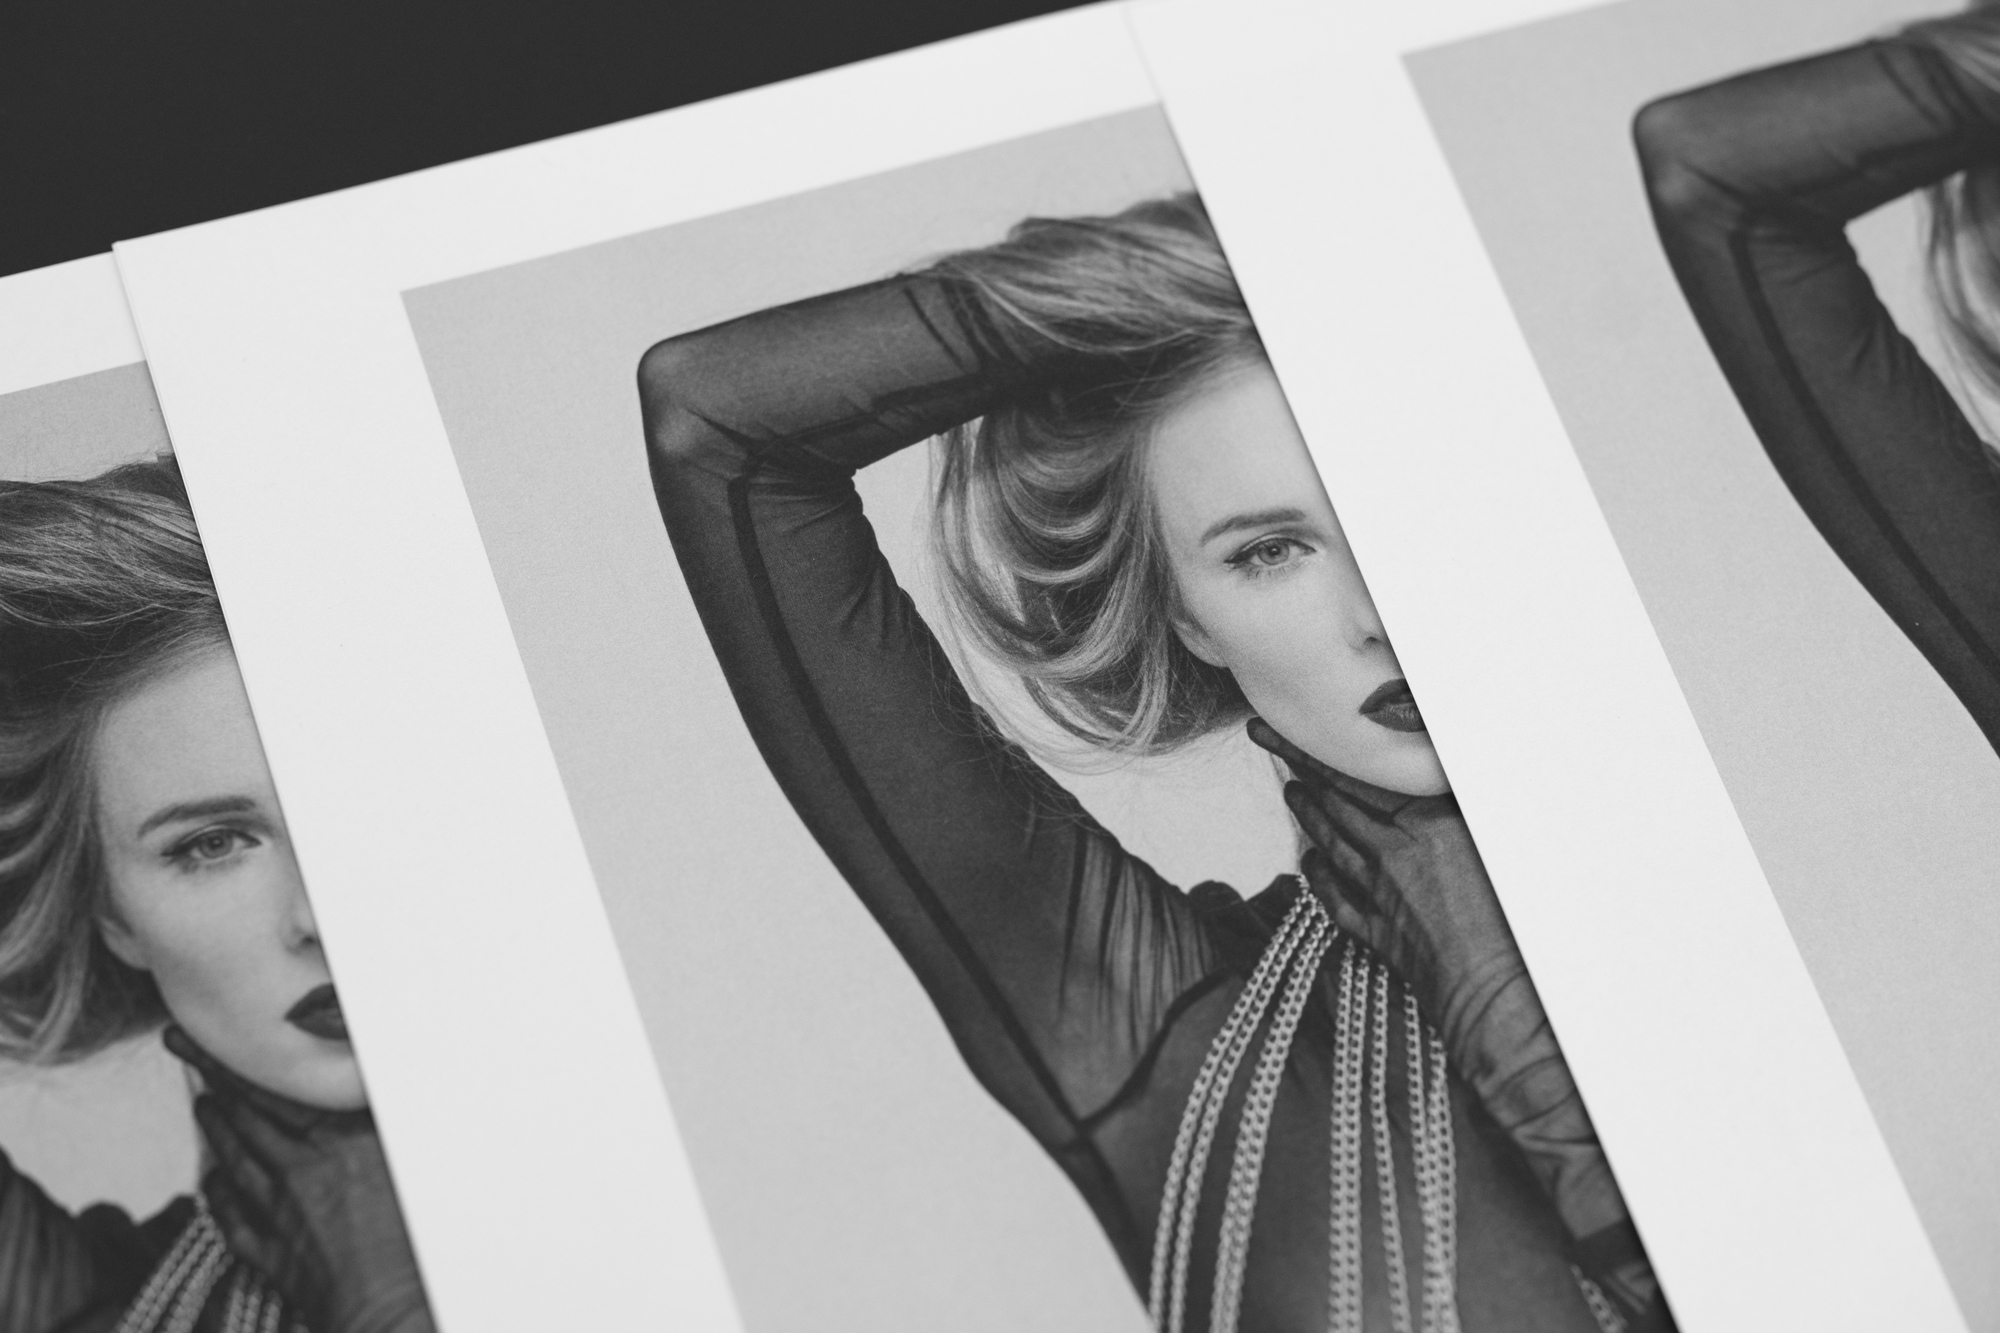
Paper choices
Now that I had chosen to work with a local printer, it became possible to make custom choices. The paper and ink volume came first. We chose a 300-gram Munken lynxrough for the cover and a 150-gram Munken lynxrough for the interior.
Binding
For the binding, I chose a 'Swiss binding'. It's a bit of an uncommon binding practice, but you see it often in art and photobooks. The big plus is the way the pages open all the way. A final test was printed, and after a final check, I decided with my girlfriend to leave out one spread. We both felt those images went in a different direction than the other images in the book. So one more final PDF export :)
The final result
One more problem occured during the printing process. Since this book has a small circulation it was printed digitally instead of offset. Because of that white spacing occured ramdomly on the full bleed spreads. In consultation with the printer we found a solution and the book was printed without any issues.
I'm really happy with the end result. I believe the image selection works, the ordering of the pictures and the design of the book. After doing a project like this I'm always a bit worn out with the work but I know from experience it groes back in a while.
You can order the book here.
Now I need to get ready for my exhibition that also shows images from this project. More on that later :)

© Pictures by
Janko Bosch